Jersey Plumbing Service

Sump Pump Work

How Does a Sump Pump Work? A Complete Guide for Homeowners

A sump pump is one of the most important pieces of equipment in a basement, especially in homes where groundwater or heavy rain can lead to moisture problems. If you have ever wondered how a sump pump works, the basic idea is straightforward. The pump collects water that enters a sump pit, detects when the water reaches a set level, and moves that water away from the foundation through a discharge pipe. Knowing how the equipment works can help you recognize early warning signs and understand when professional service is needed.

What Is a Sump Pump?

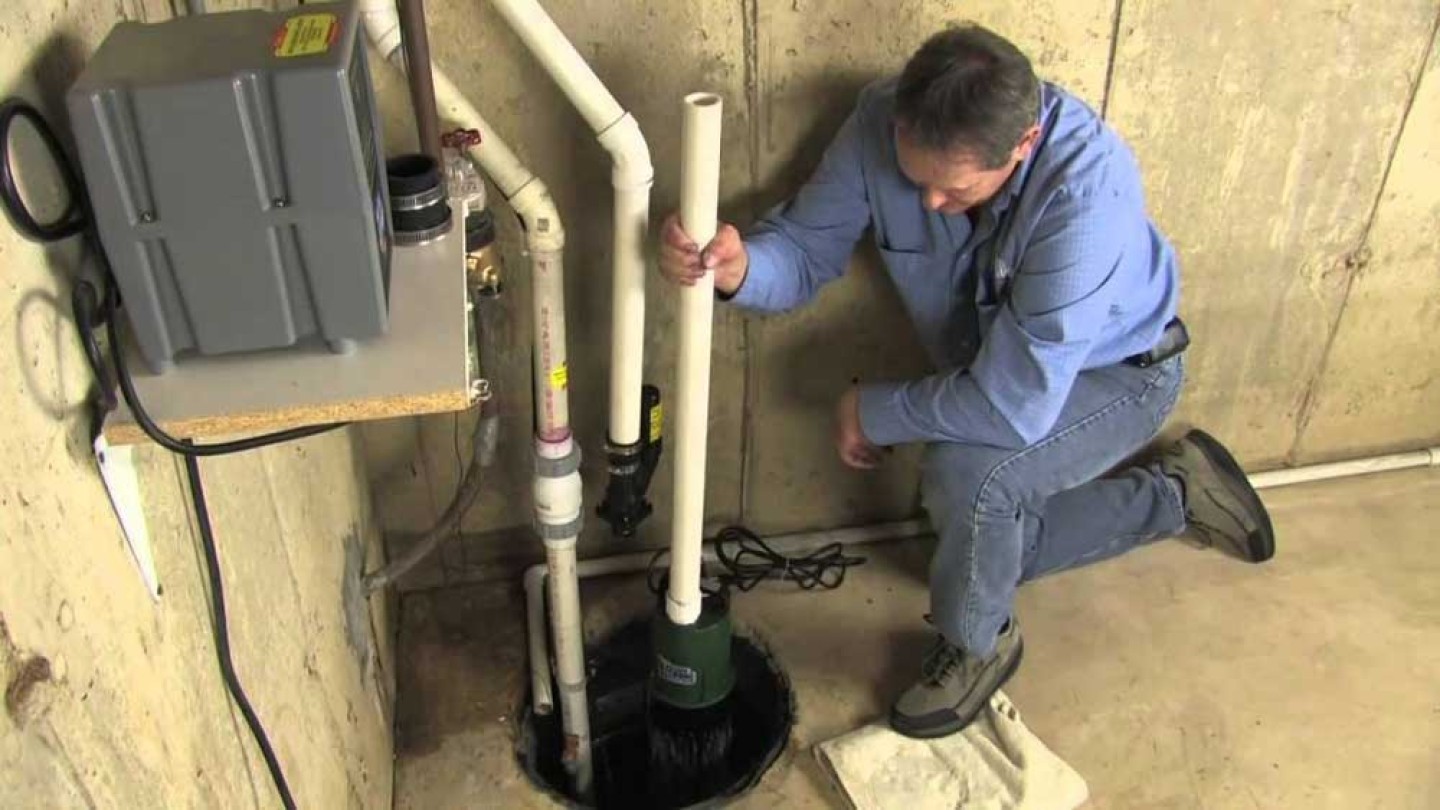
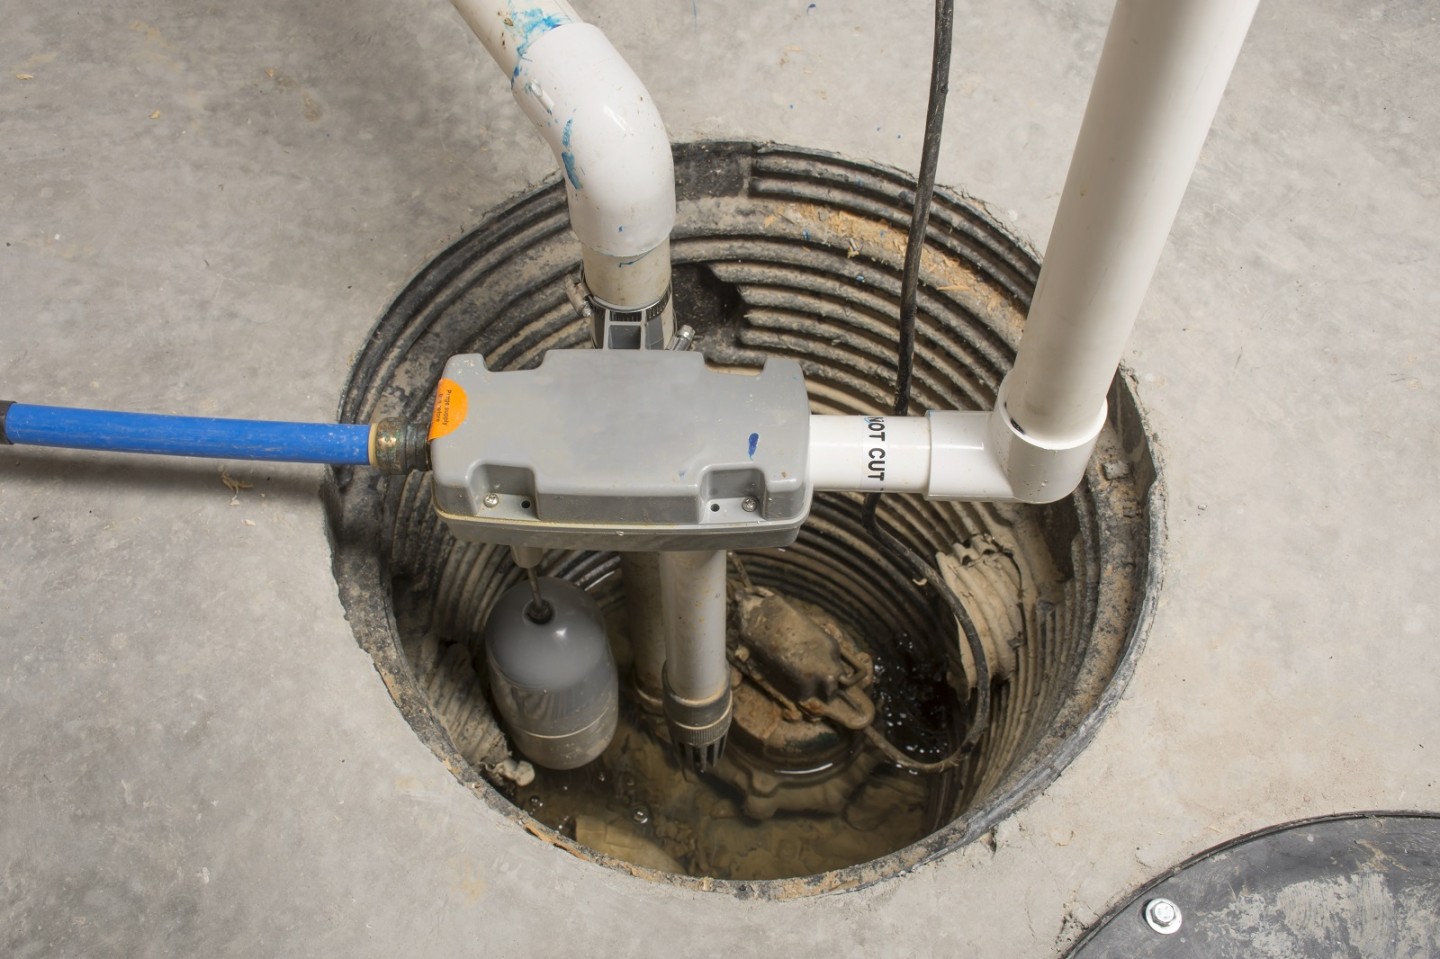
A sump pump is a small pumping unit installed in a specially designed pit at the lowest point of a basement or crawl space. The pit, often called a sump basin, gives water a controlled place to collect before it reaches the surrounding floor.

Groundwater can enter through porous soil around the foundation, while rainwater may reach the foundation through saturated ground or drainage problems. In a properly designed system, that water is directed toward the sump pit instead of being allowed to collect across the basement floor.

Once water enters the basin, the pump removes it through a discharge line. The line carries water to a suitable location away from the foundation. Protecting the basement is not simply about removing visible water. The goal is to control water accumulation before it creates damp conditions, property damage, or pressure against the foundation.

How Does a Sump Pump Work Step by Step?

Understanding the basic sump pump operation is easier when you look at what happens from the moment water enters the pit.

Water Collects in the Sump Pit

Water from groundwater, foundation drainage, or other sources flows into the sump basin. The basin is positioned below the basement floor, allowing gravity to direct water toward it.

As the water level rises, a float or electronic sensor monitors the level inside the pit. The pump remains off while the water is below its activation point.

The Pump Starts Automatically

When the water reaches a predetermined level, the pump activates. Many residential pumps use a float switch that rises with the water. Other models use a pressure sensor or electronic control system.

That activation point matters because the pump should start before the basin becomes full. A properly adjusted switch allows the pump to respond without running constantly.

The Motor Drives the Impeller

Inside the pump is an electric motor connected to an impeller. When the motor starts, the impeller spins and creates pressure that moves water through the pump housing.

Depending on the pump type, the impeller can handle water and small particles that may enter the basin. From there, the water moves into the discharge pipe.

Water Leaves Through the Discharge Pipe

After passing through the pump, water travels through the discharge line and exits outside the home or into an approved drainage location. The discharge point should be far enough from the foundation that the water does not simply return to the same area.

A check valve is commonly installed in the discharge pipe. It helps prevent water already in the pipe from flowing backward into the sump pit when the pump stops.

The Pump Shuts Off

When the water level drops below the switch's shutoff point, the pump stops. This cycle repeats whenever enough water enters the basin.

That simple cycle explains how sump pumps work during normal conditions. The equipment may sit quietly for long periods, then operate repeatedly during heavy rain or periods of high groundwater.

How a Basement Sump Pump Works During Heavy Rain

A basement sump pump may remain inactive for weeks during dry weather. Heavy rainfall can change that quickly because saturated soil around the foundation increases the amount of water that needs to be managed.

During a storm, groundwater can move toward the foundation and enter drainage channels connected to the sump basin. A working pump responds as the water level rises, removing water before it spreads across the basement.

The pump may run for longer periods during severe weather. That does not automatically mean there is a problem. Frequent operation can be normal when the surrounding soil is saturated. What matters is whether the pump starts reliably, removes water effectively, and shuts off correctly.

If the pump runs continuously without lowering the water level, the system may have a blocked discharge line, a damaged impeller, an undersized pump, or another issue that needs attention.

Main Types of Sump Pumps

Residential systems generally use one of two primary pump designs. The best choice depends on the home, pit depth, expected water volume, and installation conditions.

Submersible Sump Pumps

A submersible pump sits inside the sump basin. Because the motor is enclosed and designed to operate underwater, this style is usually quieter than an above-basin design.

Submersible models are often a practical choice when there is enough space for a properly sized basin. Their position inside the pit also keeps much of the equipment out of sight.

Pedestal Sump Pumps

A pedestal pump has its motor positioned above the sump pit, while the pumping mechanism extends into the water. This design can work well in smaller or narrower basins.

Because the motor remains above the water, access for inspection can be straightforward. The tradeoff is that pedestal models can be more noticeable when the pump runs.

What Happens When a Sump Pump Fails?

A failed sump pump can allow water to rise quickly, particularly during a storm. The result may be standing water, wet flooring, damaged stored belongings, or increased moisture around the basement.

Several problems can cause failure. A stuck float switch may prevent the motor from starting. Debris in the intake can restrict water movement. A blocked discharge pipe can stop water from leaving the home. Electrical problems can also prevent the pump from operating.

Age matters too. Pumps do not last forever, and a unit that has been running frequently for years may eventually wear out. Unusual noises, repeated cycling, slow pumping, or failure to activate are signs that the equipment should be inspected.

How to Tell If Your Sump Pump Is Working Properly

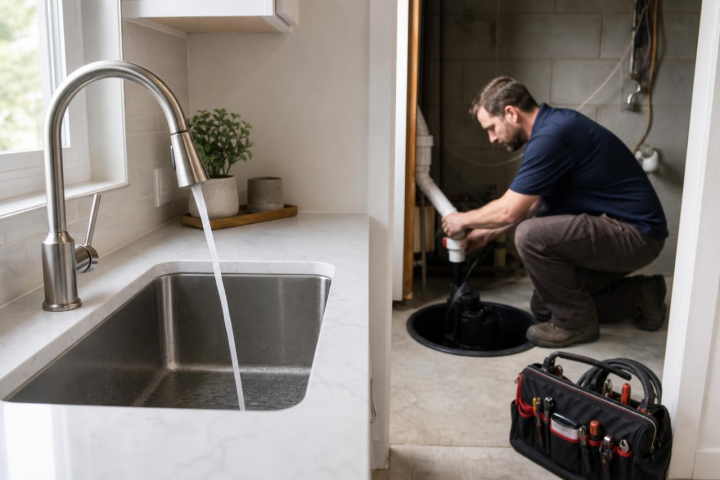
A simple test can give you useful information about the pump. Slowly add clean water to the sump pit and watch whether the float rises and activates the motor. The pump should remove the water and shut off after the level drops.

Listen for changes in sound during operation. Grinding, rattling, or loud vibration can indicate mechanical wear or an installation problem.

Check the discharge area as well. Water should flow freely from the discharge line when the pump operates. If the pipe is blocked, frozen, disconnected, or draining too close to the foundation, the pump may not be protecting the home as intended.

Testing the pump before periods of heavy rain is a practical way to catch problems early. If the system does not activate or remove water as expected, professional inspection is a better choice than waiting for the next storm.

When Should a Sump Pump Be Repaired or Replaced?

A repair may be appropriate when the problem involves a switch, check valve, electrical connection, discharge line, or another replaceable component. With a professional inspection, the cause can be identified before the entire unit is replaced.

Replacement can make more sense when the pump is old, repeatedly fails, has severe motor damage, or no longer has enough capacity for the amount of water entering the pit.

Professional service is also useful when a homeowner is unsure whether the pump is correctly sized. The amount of water entering the basin, the height the pump must move water, and the discharge configuration all affect performance. Choosing a pump based only on its horsepower can lead to a system that does not perform as expected.

Homeowners who need reliable sump pump installation and repair services can have the complete system evaluated, including the basin, pump, float switch, check valve, and discharge line. Looking at the entire setup helps identify problems that may not be obvious from the pump itself.

How to Keep a Sump Pump System Reliable

Routine attention can help a sump pump system perform when it is needed most. Keep the sump basin free of debris that could interfere with the pump or switch. Make sure the discharge line remains connected and drains away from the foundation.

It is also worth checking the pump periodically rather than waiting for a storm. Listen for unusual sounds and test the activation cycle with clean water. If the pump runs more often than it used to, that change can be a useful clue that groundwater conditions or system performance has changed.

Some homes benefit from a backup pump or battery backup system, particularly where basement flooding could cause major damage or where power outages are common during severe storms. A backup system can provide another layer of protection when the primary pump cannot operate.

Why Proper Sump Pump Installation Matters

The pump itself is only one part of the drainage setup. Basin size, pump capacity, discharge piping, check valve placement, float clearance, and electrical supply all affect the way the system performs.

An incorrectly positioned float can cause short cycling or prevent activation. Poorly routed discharge piping can send water back toward the foundation. A pump that is too small may run for long periods without keeping up with incoming water.

Professional installation takes these conditions into account. The result should be a system that starts when needed, moves water efficiently, and shuts off without unnecessary cycling.

When to Call a Plumbing Professional

If you notice water around the sump pit, a pump that will not start, frequent cycling, unusual noise, or a discharge line that does not move water, professional diagnosis is worthwhile.

A technician can test the pump, inspect the electrical connection, check the float or sensor, examine the discharge line, and determine whether the equipment has enough capacity. This approach can prevent a small component problem from becoming a flooded basement.

Jersey Plumbing has nearly 30 years of experience serving Somerset, Morris, Hunterdon, Essex, and Union counties. Its licensed technicians focus on reliable service, clear communication, and practical recommendations based on the condition of the plumbing system.

Conclusion

Knowing how a sump pump works makes it easier to understand the role this equipment plays in protecting a basement from unwanted water. The pump collects water in a sump basin, activates when the level rises, moves water through a discharge line, and shuts off after the level falls. Regular testing and professional attention can help keep that cycle working when heavy rain and groundwater put the system to the test.

Frequently Asked Questions

How often should I test my sump pump?

Testing your sump pump several times a year is a good practice, especially before seasons with frequent heavy rain. Adding clean water to the pit can confirm that the float activates the pump and that water exits through the discharge line.

How long does a sump pump usually last?

A sump pump can last several years, but its service life depends on how often it operates, water conditions, pump quality, and maintenance. A pump that runs frequently may wear out sooner than one used only occasionally.

Why does my sump pump keep running?

Continuous operation can happen when groundwater is entering the pit faster than the pump can remove it. A blocked discharge line, faulty switch, undersized pump, or drainage problem can also cause frequent or continuous operation.

Does a sump pump need a check valve?

A check valve is commonly used to stop water in the discharge pipe from flowing backward into the sump basin. Without proper backflow control, the pump may have to move the same water repeatedly.

Can a sump pump prevent basement flooding?

A properly installed and maintained sump pump can significantly reduce the risk of water accumulating in a basement. It cannot correct every drainage problem, so the basin, discharge system, and surrounding drainage conditions also matter.

Should I have a backup sump pump?

A backup pump can be helpful for homes that are vulnerable to basement flooding or power outages. A battery backup can provide protection when the primary pump cannot operate because of an electrical failure.

Refrigerator Leaking Water

Why Is My Refrigerator Leaking Water? Common Causes and Fixes

Seeing water under or around a refrigerator can be alarming, especially when you are not sure where it came from. If you are asking why your refrigerator is leaking water, the answer may be as simple as a clogged drain or as serious as a hidden plumbing leak. Refrigerators that make ice or dispense water have several water-related components, so finding the source is the first step toward choosing the right fix. A small puddle should not be ignored, since repeated moisture can damage flooring, cabinets, and nearby walls.

Why Is My Refrigerator Leaking Water?

The most common reasons include a blocked defrost drain, a damaged water supply line, a loose connection, a faulty inlet valve, or a problem with the drain pan. Some refrigerators can also leak when the appliance is not level or when ice builds up in the wrong location.

Identifying the source matters because the visible puddle is not always located directly below the failed component. Water can travel along the bottom of the refrigerator or underneath nearby cabinets before it reaches the floor.

A refrigerator leaking water may also have a problem outside the appliance itself. The supply pipe behind the refrigerator can develop a leak, especially if it has been moved, bent, or disturbed during cleaning or maintenance.

Common Refrigerator Water Leak Causes

Several issues can lead to water appearing around a refrigerator. Understanding the common sources can help you decide whether a simple appliance check is appropriate or whether plumbing service is needed.

A Clogged Defrost Drain

Most modern refrigerators periodically run a defrost cycle. Melted ice is supposed to flow through a small drain into a pan, where the water can evaporate.

When the drain becomes blocked by ice, food particles, or other debris, the meltwater may back up. It can then collect inside the refrigerator, underneath drawers, or eventually reach the floor.

A blocked drain is one of the more common explanations for water appearing inside the fresh food compartment. Repeated ice buildup can point to a deeper drainage or defrost issue that deserves attention.

A Damaged Water Supply Line

Refrigerators with ice makers and water dispensers usually have a dedicated water supply line. That line connects the appliance to the home's plumbing system.

A cracked, pinched, or loose line can release water behind the refrigerator. The leak may be slow enough to go unnoticed at first, then become more visible as moisture accumulates.

Moving the refrigerator can also stress the line. If the appliance is pushed too far against the wall, the tubing can bend sharply or become disconnected from its fitting.

A Loose Connection

Connections at the refrigerator, shutoff valve, or supply line can loosen over time. Even a small gap can allow water to escape whenever the ice maker fills or the dispenser is used.

Look carefully at accessible connections if you can do so safely. Water around a fitting can indicate that the problem is at the connection rather than inside the refrigerator.

A Faulty Water Inlet Valve

The water inlet valve controls the flow of water into the refrigerator. If the valve does not close properly, water can continue to enter when it should not.

A failing valve can produce intermittent leaking, particularly when the ice maker cycles. Because the valve is connected to the water supply, a persistent leak may require more than an appliance adjustment.

A Full or Damaged Drain Pan

The drain pan collects water produced during the refrigerator's defrost cycle. Under normal conditions, the water should evaporate before the pan overflows.

If the pan is cracked, displaced, or unable to drain properly, water may reach the floor. Access to the pan varies by refrigerator model, so forcing panels open can create additional damage.

Why Is My Fridge Leaking Water Inside?

When water appears inside the refrigerator, the defrost drain is one of the first areas to consider. A clogged drain can prevent meltwater from reaching the drain pan.

Food containers can also spill, and condensation can collect when warm air enters the refrigerator frequently. A door that does not seal properly can allow excess moisture to build up, which may contribute to water accumulation.

Check whether the water is limited to a specific shelf, drawer, or area near the rear wall. The location can provide useful information about where the moisture begins.

If water keeps returning after the visible moisture is cleaned up, the underlying cause should be investigated rather than repeatedly wiping the area. Continued water buildup can affect stored food and contribute to odor or interior damage.

Why Is Water Leaking From the Bottom of the Refrigerator?

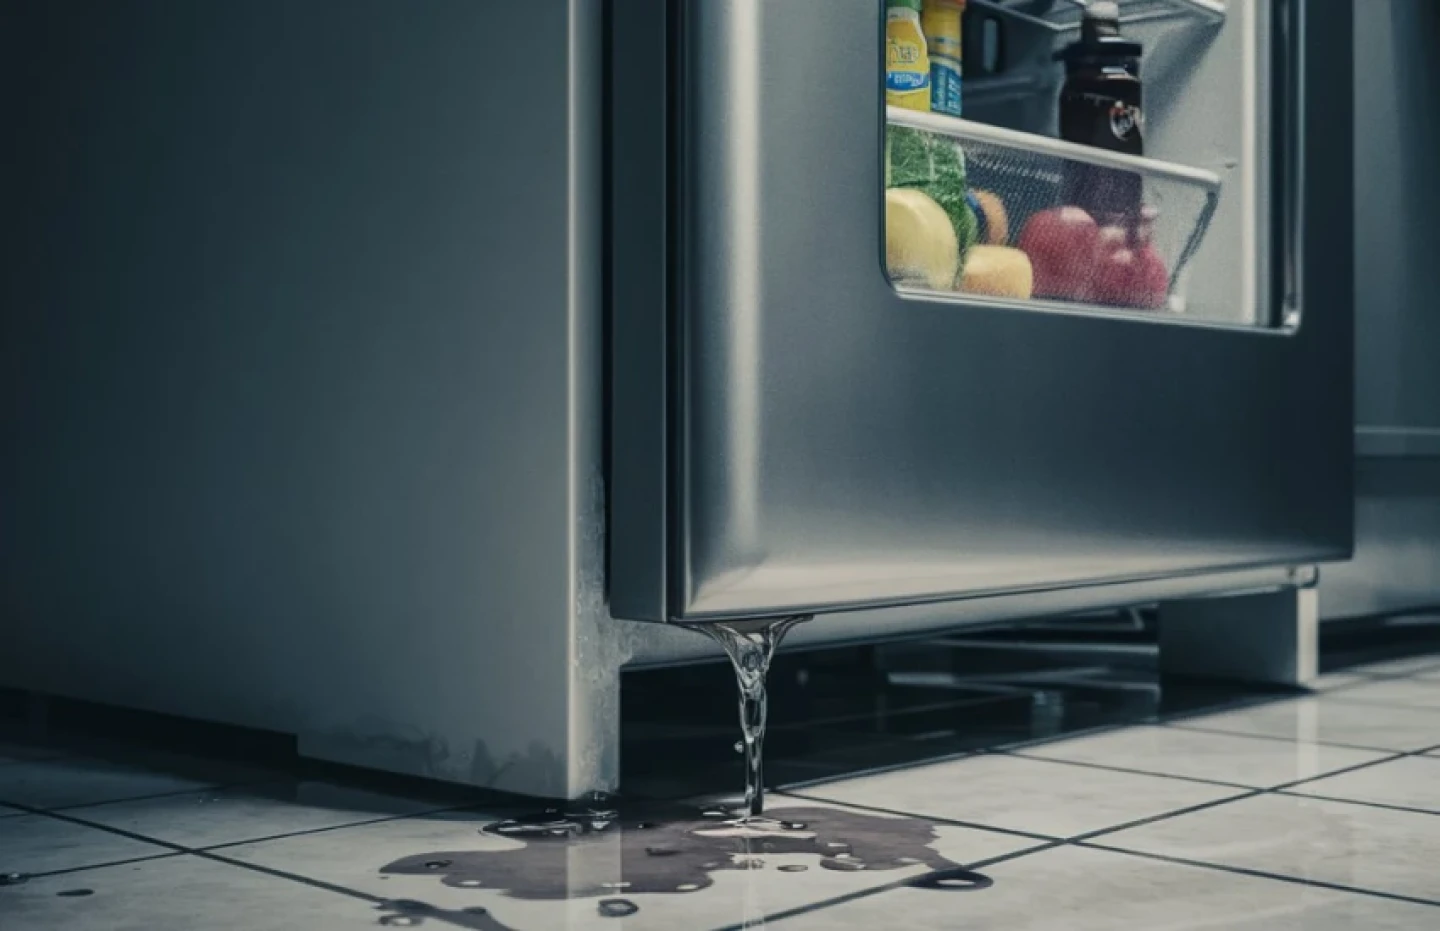
Water on the floor near the front or rear of the refrigerator often points to a drainage or supply issue. A clogged defrost drain may allow water to escape from the intended path, while a damaged supply line can release water directly onto the floor.

The location of the puddle can be misleading. Water may travel underneath the appliance before becoming visible, so the point where you see water is not always the point where the leak begins.

If you are trying to determine why your refrigerator is leaking water from the bottom, inspect the accessible supply line and connections first. Turn off the refrigerator's water supply if there is an active leak and you can safely reach the shutoff valve. If water continues to appear, the source may be elsewhere in the plumbing system.

Understanding Where the Water Comes From

The phrase water leaking from refrigerator can describe several different problems, so the source needs to be traced carefully. Water that starts inside the cabinet often has a different cause from water that begins behind the appliance.

The most useful clue is timing. Notice whether the leak appears after the ice maker fills, after the dispenser is used, during a defrost cycle, or without any obvious trigger. Those patterns can help separate an appliance drainage problem from a plumbing supply issue.

Knowing the common refrigerator water leak causes can also prevent guesswork. A technician can examine the appliance connections, supply line, valves, and nearby plumbing to determine whether the refrigerator or the home's water system needs attention.

What to Check When a Refrigerator Leaks

Start by identifying whether the water is coming from inside the refrigerator, behind the appliance, or from the floor area nearby. That distinction can narrow the possible causes.

Check the Water Supply

If your refrigerator has an ice maker or dispenser, inspect the water line for visible cracks, kinks, or loose fittings. Avoid pulling hard on the refrigerator because doing so can put extra stress on the tubing.

A steady leak from the supply line is a plumbing concern. Shutting off the water supply can limit additional damage until the source is repaired.

Check the Defrost Drain

Look for standing water inside the refrigerator, particularly below drawers or along the rear wall. A recurring pool of water in this area can point toward a blocked defrost drain.

Do not use sharp objects to remove ice from internal components. Puncturing a refrigerant line or damaging a plastic drain can turn a small problem into a costly repair.

Check the Appliance Position

A refrigerator that is not positioned correctly can have drainage issues or door sealing problems. Make sure the appliance is stable and that the doors close properly.

The exact leveling requirements vary by model, so follow the manufacturer's instructions when making adjustments. Avoid making major changes to the appliance if the leak appears to be coming from the home's plumbing.

When a Refrigerator Leak Is a Plumbing Problem

Not every leak around a refrigerator is caused by the appliance. The water line serving the refrigerator is part of the home's plumbing, and leaks at the shutoff valve, supply tubing, or connection can require plumbing expertise.

A leak can also develop inside the wall behind the refrigerator. If the wall, cabinet, or floor remains wet even after the appliance is turned off, the source may be hidden from view.

When the source is difficult to locate, professional water leak detection services can help identify where water is coming from before unnecessary repairs are made. Accurate diagnosis is especially useful when moisture appears to be traveling from behind cabinets, walls, or flooring.

Signs You Should Not Ignore

A small puddle may seem manageable, but repeated water can cause problems over time. Swollen flooring, damaged cabinet bases, staining, musty odors, or damp drywall can indicate that the leak has been present longer than expected.

Pay attention to when the water appears. If it happens after using the dispenser, the supply connection or dispenser system may deserve inspection. Water that appears after an automatic defrost cycle points toward a drainage issue.

Frequent puddles are another reason to investigate. Cleaning the floor does not address the source, and repeated moisture can spread into areas that are difficult to see.

How to Prevent Refrigerator Water Leaks

Basic maintenance can reduce the chance of some refrigerator leaks. Keep the area around the appliance clean and avoid pushing the refrigerator so tightly against the wall that the supply line becomes sharply bent.

Inspect visible tubing and connections from time to time. If you notice discoloration, mineral buildup, moisture, or a fitting that appears loose, address the issue before a larger leak develops.

Keep the refrigerator doors closing properly as well. Damaged seals can allow warm air to enter, increasing condensation and moisture inside the appliance.

Professional inspection is appropriate when a leak returns, the source cannot be identified, or water appears to be coming from a wall, floor, or plumbing connection.

What to Do If Your Refrigerator Is Leaking Water

If water is actively flowing, stop the water supply to the refrigerator when you can safely access the shutoff valve. Move nearby items away from the wet area and dry standing water to reduce the chance of floor damage.

Avoid disassembling the refrigerator unless you are familiar with its components. The appliance contains electrical parts and sealed systems that can be damaged by improper repairs.

When the leak involves the household water line or the source remains unclear, a licensed plumbing professional can inspect the connections and surrounding plumbing. Jersey Plumbing has nearly 30 years of experience serving Somerset, Morris, Hunterdon, Essex, and Union counties, with a focus on clear communication and dependable service.

Conclusion

If you are wondering why your refrigerator is leaking water, start by identifying where the water begins rather than where the puddle ends. A clogged defrost drain, damaged supply line, loose connection, faulty valve, or plumbing leak can all produce similar symptoms. Finding the actual source early can limit water damage and help you get the right repair without unnecessary work.

Frequently Asked Questions

Why is my refrigerator leaking water onto the floor?

Water on the floor can come from a clogged defrost drain, damaged supply line, loose connection, drain pan, or water inlet valve. Finding the point where the water starts is more useful than focusing only on the puddle.

Can a clogged refrigerator drain cause a leak?

Yes, a blocked defrost drain can cause meltwater to back up inside the refrigerator. Water may collect beneath drawers or eventually escape onto the floor when it cannot follow its normal drainage path.

Why is my refrigerator leaking water from behind?

A leak behind the refrigerator often involves the water supply line, shutoff valve, or another plumbing connection. If the source is not visible, professional inspection can help identify the location without unnecessary appliance disassembly.

Should I turn off the refrigerator water supply?

If water is actively leaking from the supply line or a connection, turning off the refrigerator's water supply can reduce additional water damage. Make sure you can reach the shutoff valve safely before doing so.

Can a refrigerator leak damage the floor?

Repeated water exposure can damage flooring, cabinet bases, drywall, and nearby materials. Even a slow leak should be investigated when it keeps returning, since moisture can spread beneath surfaces.

When should I call a plumber for a refrigerator leak?

Call a plumber when the leak appears to involve the home's water line, shutoff valve, wall, floor, or another plumbing connection. Professional diagnosis is also useful when the source cannot be identified.

top-plumbing-tips-for-new-jersey-homeowners-featured-image

Top Plumbing Tips for New Jersey Homeowners

Owning a home in New Jersey means dealing with changing weather, aging plumbing systems, and the everyday demands placed on pipes and fixtures. Following practical plumbing tips for New Jersey homeowners can help prevent leaks, protect your property, and reduce the chance of an unexpected plumbing emergency. Small maintenance tasks often make a meaningful difference, especially when problems are caught before they cause water damage. Understanding your home's plumbing system also makes it easier to recognize when a repair needs professional attention.

Understand Your Home's Plumbing System

Every homeowner should have a basic understanding of how water enters, moves through, and leaves the house. Knowing where the main water shutoff is located is one of the most useful things you can learn.

Find the Main Water Shutoff

The main shutoff controls the water supply entering your home. If a pipe breaks or a major fixture begins releasing water, turning off this valve can limit the amount of water entering the plumbing system while you arrange repairs.

The exact location varies between homes. It may be near where the water line enters the property, in a basement, utility room, crawl space, or another accessible area.

Know Your Fixture Shutoffs

Individual fixtures often have their own shutoff valves. Sinks, toilets, and some appliances may have valves that allow you to stop water to one fixture without shutting down the entire home.

Check these valves periodically. A valve that has not been operated for years can become difficult to turn when you actually need it.

Watch for Small Plumbing Leaks

A dripping faucet or damp connection may seem insignificant, but small leaks can waste water and damage surrounding materials. Cabinets, flooring, drywall, and other surfaces can absorb moisture long before a homeowner notices visible damage.

Check Under Sinks

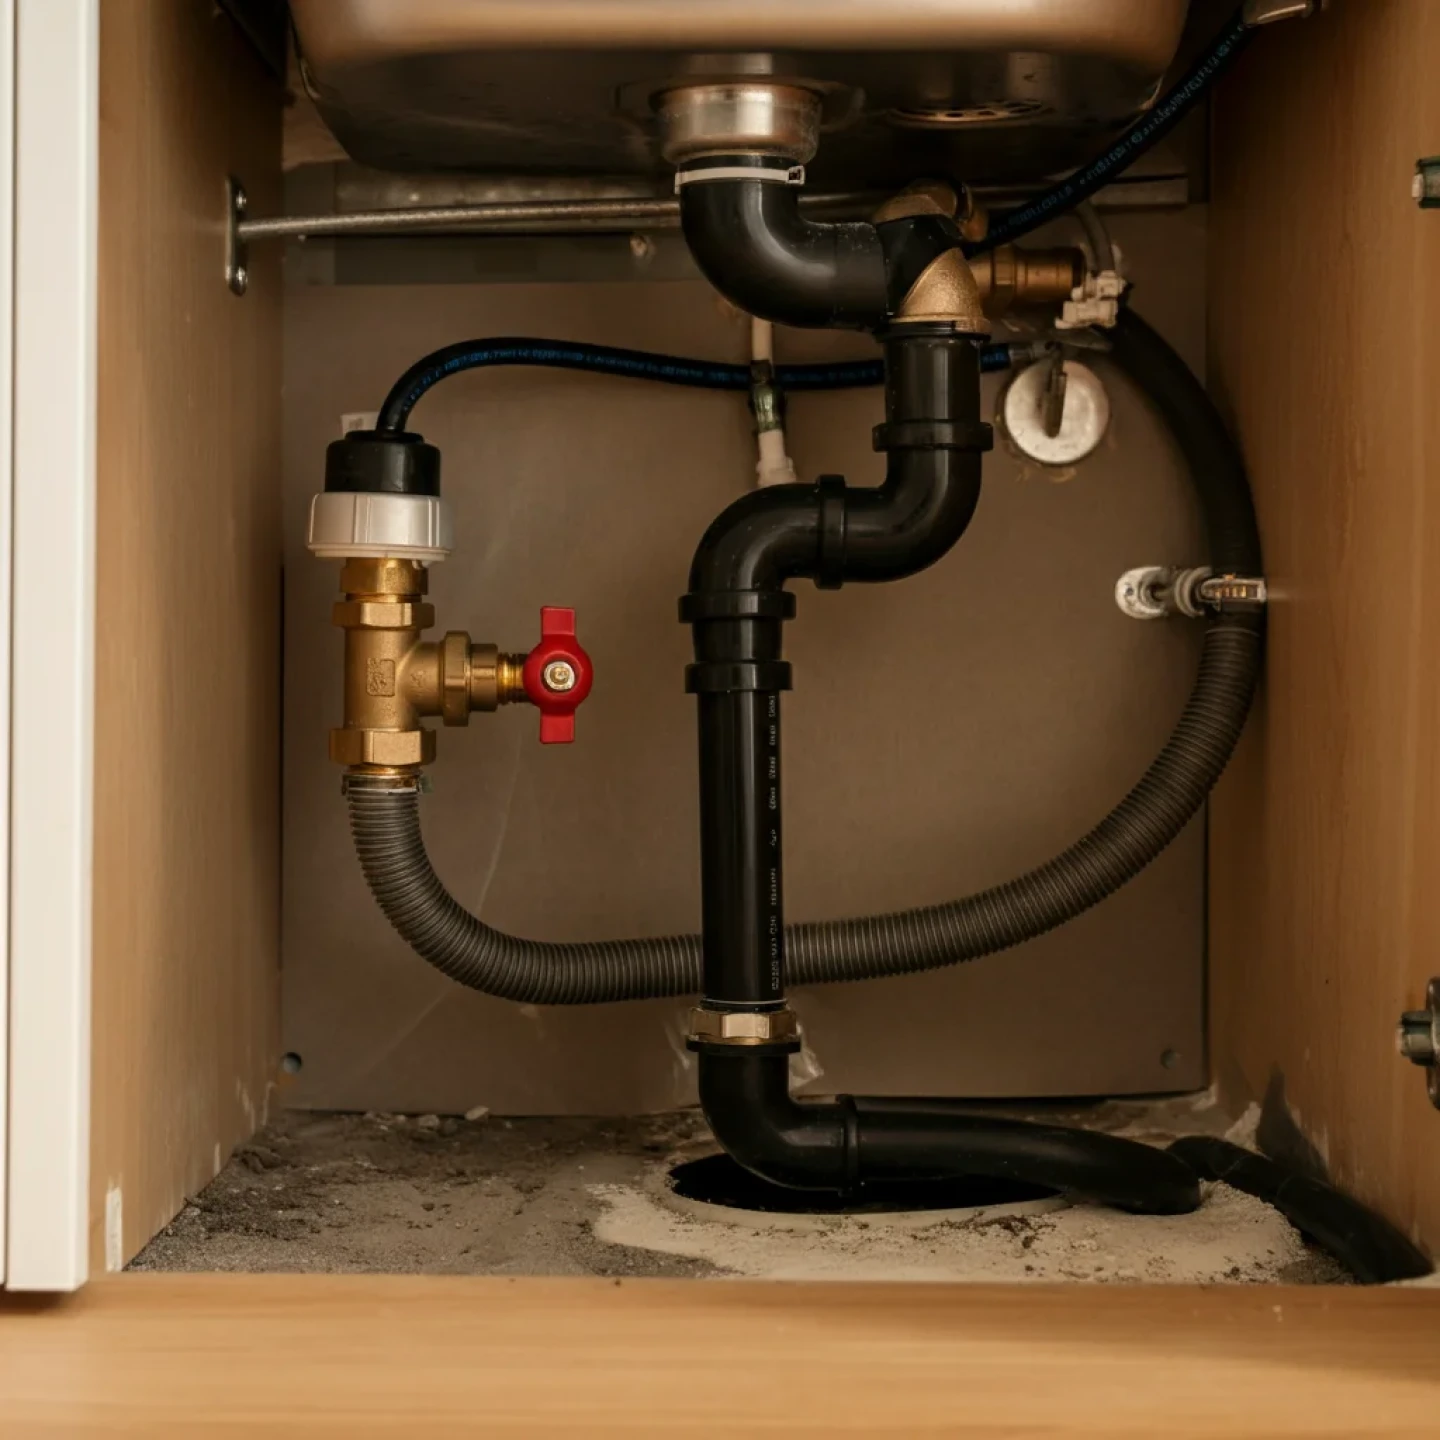
Look beneath kitchen and bathroom sinks for moisture, staining, corrosion, or mineral deposits around connections. Supply lines should also be inspected for visible wear or damage.

A musty smell inside a cabinet can be another clue. If moisture keeps returning after the area has been dried, the source should be identified rather than ignored.

Pay Attention to Toilets

A toilet that runs after flushing may have a worn flapper, fill valve, or another faulty component. Although the sound can be easy to ignore, continuous running can waste a substantial amount of water over time.

Water around the base of a toilet deserves attention as well. A damaged seal or connection can allow water to reach the flooring underneath the fixture.

Protect Pipes During New Jersey Winters

Cold weather is one of the major concerns when it comes to home plumbing maintenance in New Jersey. Water expands when it freezes, creating pressure inside pipes that can eventually cause them to split or rupture.

Protect Exposed Pipes

Pipes in unheated areas such as basements, garages, crawl spaces, and utility rooms can be more vulnerable during severe cold. Insulation can provide additional protection where appropriate.

Exterior walls can also contain plumbing that is exposed to colder temperatures. Keeping these areas adequately heated can reduce the risk of freezing.

Know What to Do During Freezing Weather

If temperatures are expected to remain extremely low, take steps to protect vulnerable plumbing. Keep garage doors closed, maintain reasonable indoor heat, and make sure exposed pipes are not subjected to unnecessary cold.

If a pipe freezes, avoid using an open flame to thaw it. Professional assistance is the safer option when you cannot safely determine where the ice blockage is located.

Be Careful About What Goes Down Drains

One of the simplest New Jersey plumbing tips is to treat drains as part of a system rather than as a disposal method. Materials that seem harmless can accumulate inside pipes and eventually create restrictions.

Protect Kitchen Drains

Cooking grease and oil should not be poured into a kitchen sink. These substances can cool inside the drain and stick to pipe walls, allowing other material to collect around them.

Food scraps should also be kept out of the drain as much as practical. A sink strainer can catch larger particles before they enter the plumbing.

Use Toilets Properly

Toilets are designed to handle human waste and toilet paper. Paper towels, wipes, cotton products, and other materials can contribute to blockages because they do not break apart in the same way.

Repeated flushing of unsuitable materials can create a blockage farther down the drain line. That type of obstruction may require more extensive service than a simple toilet clog.

Keep an Eye on Water Pressure

Water pressure can tell you a surprising amount about your plumbing system. A sudden change throughout the home may indicate a problem with the incoming supply, pressure regulation, a pipe, or another component.

Low pressure at one faucet can have a simple explanation, such as mineral buildup inside an aerator. Low pressure throughout the house deserves closer attention.

High pressure also should not be ignored. Excessive pressure can place additional stress on pipes, fixtures, appliances, and connections.

Maintain Your Water Heater

The water heater is one of the hardest-working plumbing appliances in a home. It provides hot water for showers, washing dishes, laundry, and many other daily activities.

Watch for Warning Signs

Unusual noises, inconsistent hot water, rusty water, visible leaks, or changes in heating performance can indicate a problem. A leaking tank deserves prompt attention because a failed tank can release a large amount of water.

The age and condition of the unit also matter. Routine professional maintenance can identify issues before they become major failures.

Keep the Area Accessible

Avoid storing items directly around the water heater. Technicians need access to the unit for inspection, maintenance, and emergency repairs.

Keeping the surrounding area clear also makes it easier for homeowners to notice leaks or other changes.

Check Your Sump Pump

Homes with basements can benefit from regular sump pump checks, particularly before periods of heavy rain. A sump pump that has not been tested for months may not operate when water begins entering the basin.

Add clean water to the sump pit and confirm that the pump starts and removes the water properly. Listen for unusual sounds and check that the discharge line is moving water away from the foundation.

A backup system may also be worth considering if a basement contains valuable belongings or is particularly vulnerable to flooding.

Pay Attention to Common Plumbing Problems in NJ

Many common plumbing problems in NJ are not dramatic when they first appear. Slow drains, dripping faucets, running toilets, low water pressure, leaking connections, and aging pipes can all develop gradually.

Seasonal changes can also affect plumbing. Winter brings freezing concerns, while heavy rainfall can place additional demands on drainage and sump pump systems.

Older New Jersey homes may contain aging plumbing materials that require more frequent inspection. Knowing the approximate age and material of your pipes can help you make better maintenance decisions.

Do Not Rely on Temporary Repairs

Tape, sealants, and makeshift fixes can sometimes reduce a small leak temporarily, but they should not be treated as permanent repairs. A temporary solution may hide the underlying problem while water continues causing damage.

Repeated repairs in the same location are another warning sign. If a connection or pipe continues to fail, replacing the affected component may make more sense than continuing to patch it.

Homeowners who need reliable professional plumbing services can have recurring problems properly diagnosed before deciding what repair is appropriate.

Schedule Plumbing Inspections When Needed

Preventive plumbing maintenance for homeowners does not mean every system requires constant professional inspection. Certain situations do justify a closer look.

An inspection can be useful when buying an older home, after repeated leaks, when water pressure changes unexpectedly, or when several fixtures begin experiencing problems at the same time.

Professional diagnosis can also identify issues that are difficult to see, including deteriorating pipes, hidden leaks, and problems inside drainage lines.

Jersey Plumbing is a family-owned company with nearly 30 years of experience serving Somerset, Morris, Hunterdon, Essex, and Union counties. Licensed technicians provide reliable service, expert diagnostics, and clear communication.

Build a Simple Maintenance Routine

Good home plumbing maintenance tips do not require complicated equipment. Make a habit of checking under sinks, around toilets, near appliances, and around the water heater for signs of moisture.

Listen for unusual sounds and pay attention to changes in water pressure. Test the sump pump when appropriate, keep drains clear of unsuitable materials, and know where the main shutoff is located.

These small habits make it easier to identify changes in your plumbing system. Early attention can reduce the chance that a minor problem becomes an expensive emergency.

Conclusion

The best plumbing tips for New Jersey homeowners focus on prevention, awareness, and timely repairs. Protect vulnerable pipes during winter, watch for leaks, maintain your water heater and sump pump, protect drains, and pay attention to changes in pressure. A little regular attention can help your plumbing system perform reliably and give you more confidence when problems arise.

Frequently Asked Questions

How often should homeowners inspect their plumbing?

A quick visual inspection every few months is a useful habit. Check accessible pipes, fixtures, appliance connections, the water heater, and areas beneath sinks for leaks, corrosion, staining, or moisture.

How can I prevent pipes from freezing in New Jersey?

Keep vulnerable areas adequately heated and insulate exposed pipes where appropriate. During severe cold, keeping garage doors closed and maintaining steady indoor heat can also help protect plumbing.

What are common plumbing problems in New Jersey homes?

Common issues include clogged drains, leaking faucets, running toilets, low water pressure, frozen pipes, water heater problems, and aging plumbing. Older homes may require additional attention because of their existing pipe materials.

How do I know if my water pressure is too high?

A pressure gauge can provide a more accurate reading than judging water flow by feel. If pressure seems unusually strong or you notice recurring leaks, a plumber can test the system and determine whether regulation is needed.

When should I call a plumber for a small leak?

Call a plumber when a leak keeps returning, comes from an inaccessible location, reaches walls or flooring, or appears to be getting worse. Prompt diagnosis can help prevent water damage and more extensive repairs.

Should older New Jersey homes have plumbing inspections?

An inspection can be worthwhile when an older home has aging pipes, recurring leaks, pressure problems, or several plumbing repairs. Knowing the condition of the system helps homeowners plan repairs before a major failure occurs.

diy water heater

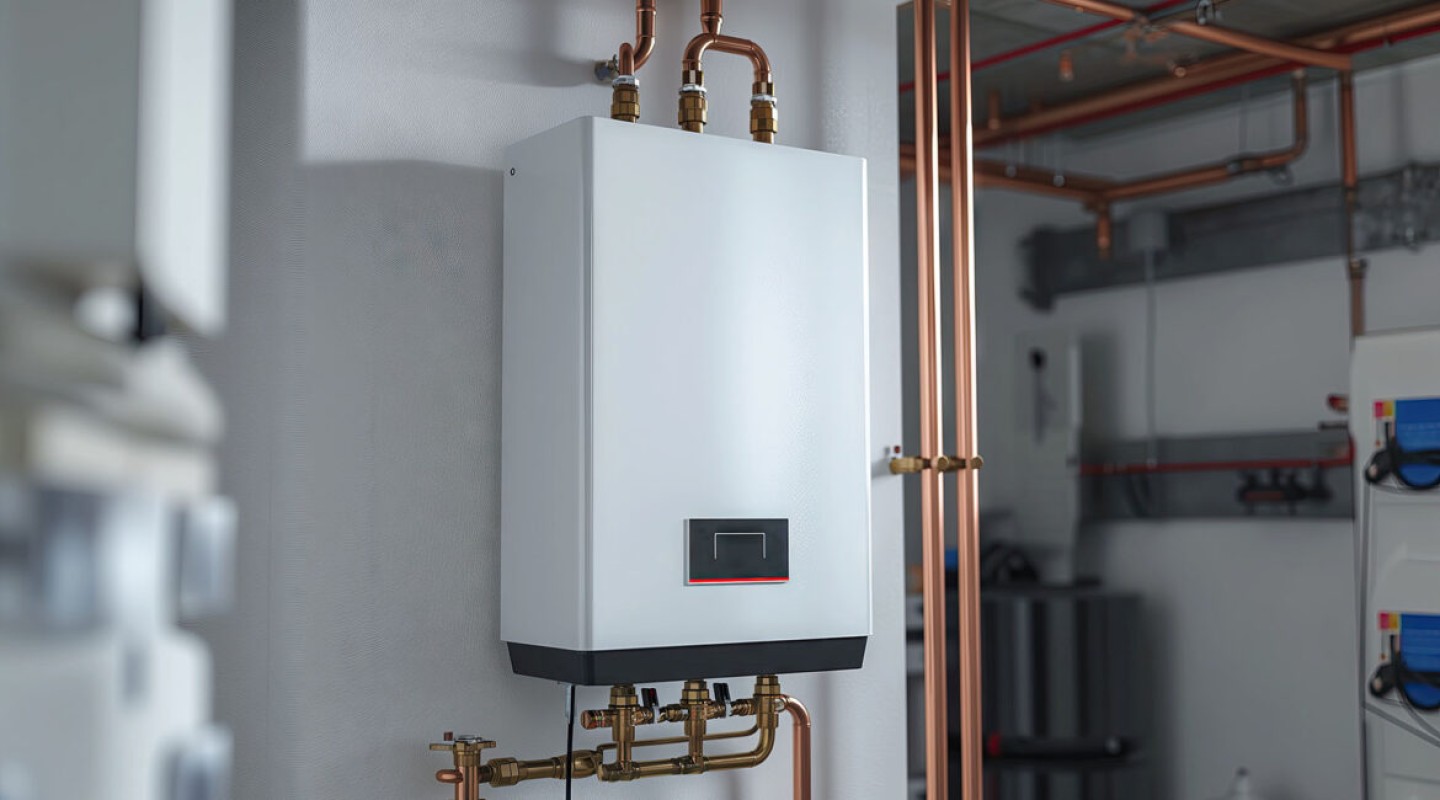
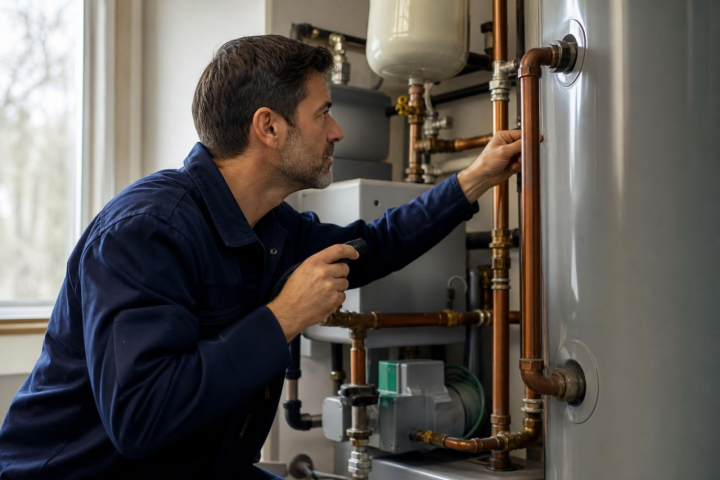
How to Install a Water Heater: A Step-by-Step Guide

Learning how to install a water heater involves much more than connecting a tank and turning on the water. A water heater installation requires careful planning, proper connections, correct venting when applicable, safe fuel or electrical work, and attention to local requirements. Because mistakes can create serious water, fire, gas, or electrical hazards, homeowners should treat this guide as an overview of the process rather than a substitute for licensed professional installation. Understanding the water heater installation steps can still help you know what is involved and what to expect from a qualified technician.

Choose the Right Water Heater

The installation process begins before the old unit is removed. The replacement water heater needs to match the home's hot water demand, available space, fuel source, and plumbing configuration.

Consider Household Demand

A small household may have different hot water needs from a larger family. The number of bathrooms, frequency of showers, laundry use, dishwasher use, and other demands all affect the appropriate capacity.

Tank size is only one consideration. Recovery rate and energy source also influence how well a unit can meet household demand.

Check the Available Space

Measure the existing installation area before selecting a replacement. Tank height, width, connection locations, service clearance, and access through doors or stairways can all affect which model is suitable.

A water heater also needs appropriate clearance around its components. The installation area should remain accessible for future maintenance and service.

Understand the Existing Connections

Before work begins, the existing system needs to be identified. A typical tank water heater has water supply connections, a hot water outlet, a drain connection, and safety components.

Gas units have additional fuel and venting requirements. Electric models require appropriate electrical connections and protection.

The exact configuration varies by equipment and property. Never assume that a new unit can simply be connected to the same arrangement without checking whether the existing installation meets current requirements.

Shut Down the Existing Water Heater

Removing an old water heater begins with safely shutting down its energy source. The method depends on whether the unit uses gas or electricity.

Gas Water Heaters

Gas equipment requires careful handling because the fuel supply and combustion system create additional hazards. The gas supply must be shut off according to the manufacturer's instructions and applicable requirements.

Vent connections also need to be handled correctly. A damaged or improperly connected vent can create dangerous combustion conditions.

Electric Water Heaters

Electric units must be disconnected from the electrical supply before work begins. The appropriate circuit should be switched off, and the absence of electrical power should be verified with suitable equipment.

Electrical work should be handled by a qualified professional when required. Water and electricity create a particularly serious hazard when handled incorrectly.

Drain and Remove the Old Unit

Once the energy source is safely disconnected, the tank needs to be drained. A hose can be connected to the drain valve so water can be directed to an appropriate location.

Water inside the tank may remain hot, so caution is necessary during draining. Opening a hot water faucet can help relieve pressure and allow air into the system, but the exact procedure should follow the manufacturer's instructions.

After the tank is empty, the old unit can be disconnected from the plumbing and removed. Older tanks can be heavy, especially if sediment remains inside.

Prepare the New Installation Area

The area should be checked before the new water heater is positioned. Look for signs of previous leakage, damaged flooring, corroded connections, or other conditions that could affect the installation.

The new unit should sit on a stable surface and be positioned according to its installation requirements. Proper access must remain available for controls, valves, service components, and future maintenance.

A drain pan may be appropriate or required in certain installations. The exact requirements depend on the equipment and location.

Connect the Water Supply

The cold water supply connects to the designated inlet on the water heater, while the hot water outlet connects to the home's hot water piping.

Connections need to be made with appropriate materials and fittings. Shutoff valves and other required components should be installed in the correct locations.

A professional water heater installation also includes checking the connections for leaks before the unit is placed into normal service. Small leaks can become significant once the system is operating under pressure.

Install Required Safety Components

Modern water heaters include safety equipment designed to protect the system under abnormal conditions. The exact components depend on the type of unit.

Temperature and Pressure Relief

A temperature and pressure relief valve is used to protect the tank if temperature or pressure becomes excessively high. The valve and its discharge arrangement must be installed according to the manufacturer's instructions and applicable requirements.

This is not a component to modify or bypass. If the valve is leaking or appears damaged, it should be evaluated by a qualified professional.

Expansion Control

Some closed plumbing systems require an expansion tank because heated water expands. Whether one is needed depends on the plumbing configuration and local requirements.

Proper sizing and installation matter. An incorrectly installed expansion tank may not provide the intended protection.

Connect the Energy Source

The energy connection depends on the type of water heater. Gas models require proper fuel connections and venting, while electric models require correctly sized electrical circuits and connections.

These tasks carry significant safety risks. A gas connection can create a fire or carbon monoxide hazard if installed incorrectly, while improper electrical work can result in shock or fire.

For that reason, the energy connection should be completed by a qualified professional who understands the equipment and applicable requirements.

Fill the Tank Before Operation

A storage tank should be filled with water before the heating elements or burner are activated. Operating an electric water heater without a properly filled tank can damage its heating elements.

Open a hot water fixture while the tank fills. When water flows steadily without significant air, the tank is generally full.

Check all accessible connections during filling. Any sign of leakage should be addressed before the water heater is placed into normal operation.

Test the Water Heater

Testing is the final part of a proper installation. The technician should confirm that the unit heats water correctly, that connections remain dry, and that safety components are functioning as intended.

Gas units require attention to burner operation and venting. Electric units require checks of the electrical connection and heating performance.

Temperature settings should follow the manufacturer's instructions and household needs. A professional can explain the controls and recommended operating procedures after installation.

How to Install a Hot Water Heater Safely

People often search for how to install a hot water heater as though the process were a simple home improvement project. In reality, the installation can involve water pressure, high temperatures, gas, electricity, structural considerations, and safety equipment.

A homeowner may be comfortable handling basic plumbing tasks, but connecting the energy source or modifying gas, electrical, or venting systems can create serious hazards. Local rules may also require permits or licensed work.

A qualified technician can evaluate the existing setup and complete the installation according to the equipment requirements. This approach is especially important when replacing an older unit with a different type or fuel source.

When Professional Installation Makes Sense

Professional installation is a sensible choice when replacing a gas water heater, changing fuel types, relocating the unit, modifying plumbing connections, or dealing with an older installation.

Homeowners can arrange water heater installation services to have the equipment selected, installed, connected, and tested according to the needs of the home.

A professional can also identify problems that may not be obvious during replacement. Corroded shutoff valves, outdated connections, poor venting, inadequate drainage, or other conditions can affect the safety and performance of the new system.

How Long Does Water Heater Installation Take?

Installation time varies according to the type of water heater, accessibility, existing connections, and whether additional work is required.

A straightforward replacement can be completed more quickly than a project involving relocation, new venting, electrical modifications, or changes to the fuel source.

Preparing the installation area in advance can make the process easier. Clear access to the water heater and nearby plumbing allows the technician to work efficiently and inspect the surrounding components.

Jersey Plumbing has nearly 30 years of experience serving Somerset, Morris, Hunterdon, Essex, and Union counties. Licensed technicians provide reliable service, expert diagnostics, and clear communication throughout plumbing projects.

Conclusion

Understanding how to install a water heater helps homeowners appreciate the planning, plumbing, safety, and testing involved in a proper installation. The process includes selecting the right unit, safely removing the old equipment, connecting water lines and safety components, completing the appropriate energy connections, filling the tank, and testing the system. Because gas, electricity, high temperatures, and pressurized water can create serious hazards, qualified professional installation is the safest choice for most homeowners.

Frequently Asked Questions

Can I install a water heater myself?

Some basic plumbing work may be within a homeowner's abilities, but water heater installation can involve gas, electricity, venting, pressure, and safety requirements. Professional installation is the safer option when these systems are involved.

How long does water heater installation take?

A straightforward replacement may take only a few hours, while a more complicated project can take longer. Relocation, new connections, venting changes, electrical work, or other modifications can increase the installation time.

What happens if a water heater is turned on before the tank is full?

An electric water heater can suffer damage if its heating elements operate without being properly submerged in water. The tank should be filled and checked for proper water flow before the heating system is activated.

Do gas water heaters need special venting?

Yes, gas water heaters require appropriate venting to safely manage combustion gases. The venting arrangement must match the equipment and installation requirements, which is why gas water heater work should be handled by a qualified professional.

Should I replace the shutoff valve when replacing my water heater?

The condition of the shutoff valve should be checked during replacement. If it is corroded, damaged, or difficult to operate, replacing it while the system is already being serviced may be appropriate.

How do I know what size water heater I need?

The appropriate size depends on household demand, the number of occupants, hot water usage patterns, recovery rate, and the type of unit. A professional can evaluate these factors and recommend a suitable capacity.