Shower installation diy

How to Install a Shower: The Complete Process

Showers are a necessary part of life. They keep us clean and refreshed, and can add a touch of luxury to our everyday routine. If you're thinking about installing a shower in your home, this blog post is for you! We will walk you through the entire process, from choosing the right shower to installation tips that will make the process go smoothly. Let's get started!

Choose the Right Shower

There are many factors to consider, such as budget, space, and design preferences. Once you have an idea of what you're looking for, it's time to start shopping! Remember, measure three times and add to cart once. Don't wait until you've unboxed the shower to realize you need to send it back.

Be sure to plan your entire bathroom layout and that there is enough room for the sink and toilet to use those comfortably as well. The most beautiful shower doesn't make up for a cramped bathroom.

How to Prep Your Bathroom for a New Shower Install

First, make sure that the area where you'll be installing the shower is clean and free of any obstacles. You'll also want to turn off the water to your bathroom so that there are no accidents during installation.

If you're working with a professional installer, they will take care of these details for you. However, if you're installing the shower yourself, it's important to be extra careful and follow all instructions carefully.

First, the shower base must be installed. This is the foundation of your shower, and it needs to be level and secure before you move on to the next steps.

The actual process of installing a shower varies depending on the type of shower you've chosen. However, there are some general steps that all installations require.

Installing The Shower Base

Installing a shower base is usually a two-person job, so be sure to ask a friend or family member for help. You'll want to first test-fit the base. It's best to know now if you selected the wrong side.

Next, you'll want to prepare the sub-floor, ensuring it is level and and that the leveling compound you're using is designed to adhere to the surface type you're fixing it to. Be sure to allow the appropriate amount of time for this to set and dry.

Installing the Drain

Test-fit the shower drain flange, also known as the “drain basket” or “drain body,” to ensure it fits flush with the shower base. Use plumbers putty to seal the drain basket to the shower base.

Connect the drain pipe to the drain flange. Tighten the connection with pipe wrench and then use a hacksaw to trim any excess pipe.

Installing the Shower Walls

Most showers use either tile or acrylic walls. The installation process will be different for each type, so be sure to follow the instructions that came with your product.

If you're using tile, you'll need to apply mortar adhesive to the back of each tile before setting it in place on the wall. Start from the bottom and work your way up, making sure each tile is level as you go. Once all of the tiles are in place, allow the adhesive to dry completely before grouting.

If you're using acrylic walls, the process is much simpler. Just snap the panels into place following the manufacturer's instructions.

Installing the Shower Fixtures

Now it's time to install your shower fixtures! Begin by attaching the shower arm to the wall. Use a wrench to tighten the connection and make sure it is secure. Then, attach the showerhead to the shower arm. Again, use a wrench to tighten this connection.

Finally, turn on the water and test your new shower! If everything is working properly, you can now enjoy your new space!

We hope this blog post has been helpful as you plan and install your new shower. If this seems like a lot, don't worry! We get it! This DIY can often take weeks from beginning to end. But is much quicker with a team of professionals. Call Jersey Plumbing today to schedule your stress-free shower installation.

water heater disasters

The Worst Water Heater Disasters and How to Avoid Them

Water heater disasters can cause a lot of damage in a hurry. Not only can they leave you without hot water, but they can also cause extensive property damage. In this blog post, we will discuss some of the worst water heater disasters and how to avoid them. We will also provide tips on what to do if disaster strikes.

Water heaters can fail quietly, or loudly, and both can be disastrous.

An example of a quiet water heater fail would be a carbon monoxide leak. Carbon monoxide is a gas that is produced when water heater fuel burns. It is odorless and colorless, so it can be hard to detect. If you have a water heater that uses natural gas or propane, it is important to have a carbon monoxide detector in your home. Water heaters can develop a carbon monoxide leak when they are not properly vented.

Often when homeowners or landlords DIY their water heater installation, they neglect to assess whether the ventilation pipe width is the appropriate size for the water heater being installed. And even when the ventilation pipe is the proper width, there is always a chance for blockage, especially if the water heater is located in an attic or crawl space.

If you suspect a carbon monoxide leak, it is important to get out of the house immediately and call 911. Do not re-enter the home until it has been determined safe by emergency personnel.

To avoid this disaster, be sure to have your water heater maintained by a professional who can identify these issues. If you install a water heater yourself, use a portable CO2 Detector (as little as $30 on Amazon) to test the area near the ventilation, and be sure to install a permanent CO2 detector near your appliances as well.

A loud water heater fail would be a water heater explosion.This can happen when water heaters are not properly maintained. Over time, sediment can build up in the bottom of the water heater. When this happens, it can cause the water heater to overheat and even explode. We've seen entire walls blown out due to these disasters. And thank goodness no one was in the room at the time. To avoid this, it is important to have your water heater serviced by a qualified technician every year. While sediment buildup causing a full on explosion is rare, even minor sediment issues can severely impact the efficiency of you water heater and shorten its lifespan.

The third, and perhaps most common water heater disaster would be the flood. It often doesn't occur to homeowners just how much damage can be caused by a little water. The average water heater holds about 50 gallons of water. When that water heater bursts, it can cause a lot of damage in a hurry. It is important to know where your water shut off valve is located so that you can turn it off quickly if your water heater begins to leak. It is also a good idea to keep a few towels near the water heater in case of a leak.

The water damage from a broken water heater can be extensive. It can cause water damage to the floors, walls, and ceiling of your home. In some cases, it can even lead to mold growth. If you have a water heater that is located in your attic or crawl space, the water damage can be even worse.

To avoid a water heater flood, be sure to check your water heater regularly for signs of leaks. If you see any water on the floor around your water heater, be sure to shut off the water and call a qualified technician right away.

If you do find yourself in the middle of a water heater disaster, there are some things you can do to minimize the damage. First, shut off the power to the water heater. If the water heater is gas-powered, shut off the gas supply as well. Next, open all of the faucets in your home to release the pressure from the water lines. This will help prevent any further damage to your plumbing system. Finally, call a qualified technician to come and assess the damage and make any necessary repairs.

Call Jersey Plumbing Service (908) 281-7101 for water heater maintnenance and installation in North Jersey.

For Signs Your Water Heater is Failing, Click Here.

sump pump horror stories

Sump Pump Horror Stories

Sump pumps are designed to remove water from your basement or crawl space, but when they fail, the results can be disastrous. Here are some sump pump horror stories to keep in mind:

We have seen a sump pump failure that led t over two feet of water in a basement, causing tens of thousands of dollars in damage. The family had to move out of their home while repairs were made. Their water heater and boiler both had to be replaced. (Never restart a water heater, furnace or boiler that has gotten wet!)

In other cases, we've seen sump pump failures that resulted in extensive mold growth and water damage, making the home uninhabitable. The families, for their safety, have to move out and make significant repairs before they can return.

Mold remediation in New Jersey can cost between $15 and $30 per foot, and it doesn't take long for mold to spread throughout the entire square footage of a house in many cases.

Water damage can cost thousands more on its own and even compromise the structural integrity of your home.

We've also seen families lose priceless family memories including wedding dresses, photo albums, letters from family members who passed away. Or lose precious items such as their favorite guitar or drum set.

These are just a few examples of what can happen when sump pumps fail. If you have a sump pump, be sure to check it regularly to make sure it is working properly.

Annual sump pump maintenance includes:

- Checking the sump pump to make sure it is free of debris and properly wired

- Testing the sump pump to ensure it is working properly

- Inspecting the sump pit itself to make sure it is not cracked or leaking

But even with a perfectly functioning and well maintained sump pump, when the power fails, a sump pump fails. And the storms that take out the power often bring the heavy rains that can spell disaster.

If you live in an area with frequent power outages, consider investing in a backup sump pump that runs on a battery or generator. This can help prevent water damage if your primary sump pump fails.

If you have city water, you can run your sump pump entirely on city water pressure, which offers even more security than a battery backup. We use liberty products that are water-powered, and will protect your basement in the case of a power outage. Their products are fully automatic, arrive completely assembled and work in conjunction with your main sump pump.

If you have a sump pump, make sure it is in good working order and check it regularly to avoid a disaster in your home. Consider investing in a backup sump pump to help prevent water damage if your primary sump pump fails.

Visit Jersey Sump Pumps For All Of Your Sump Pump Needs!

sewer camera inspections

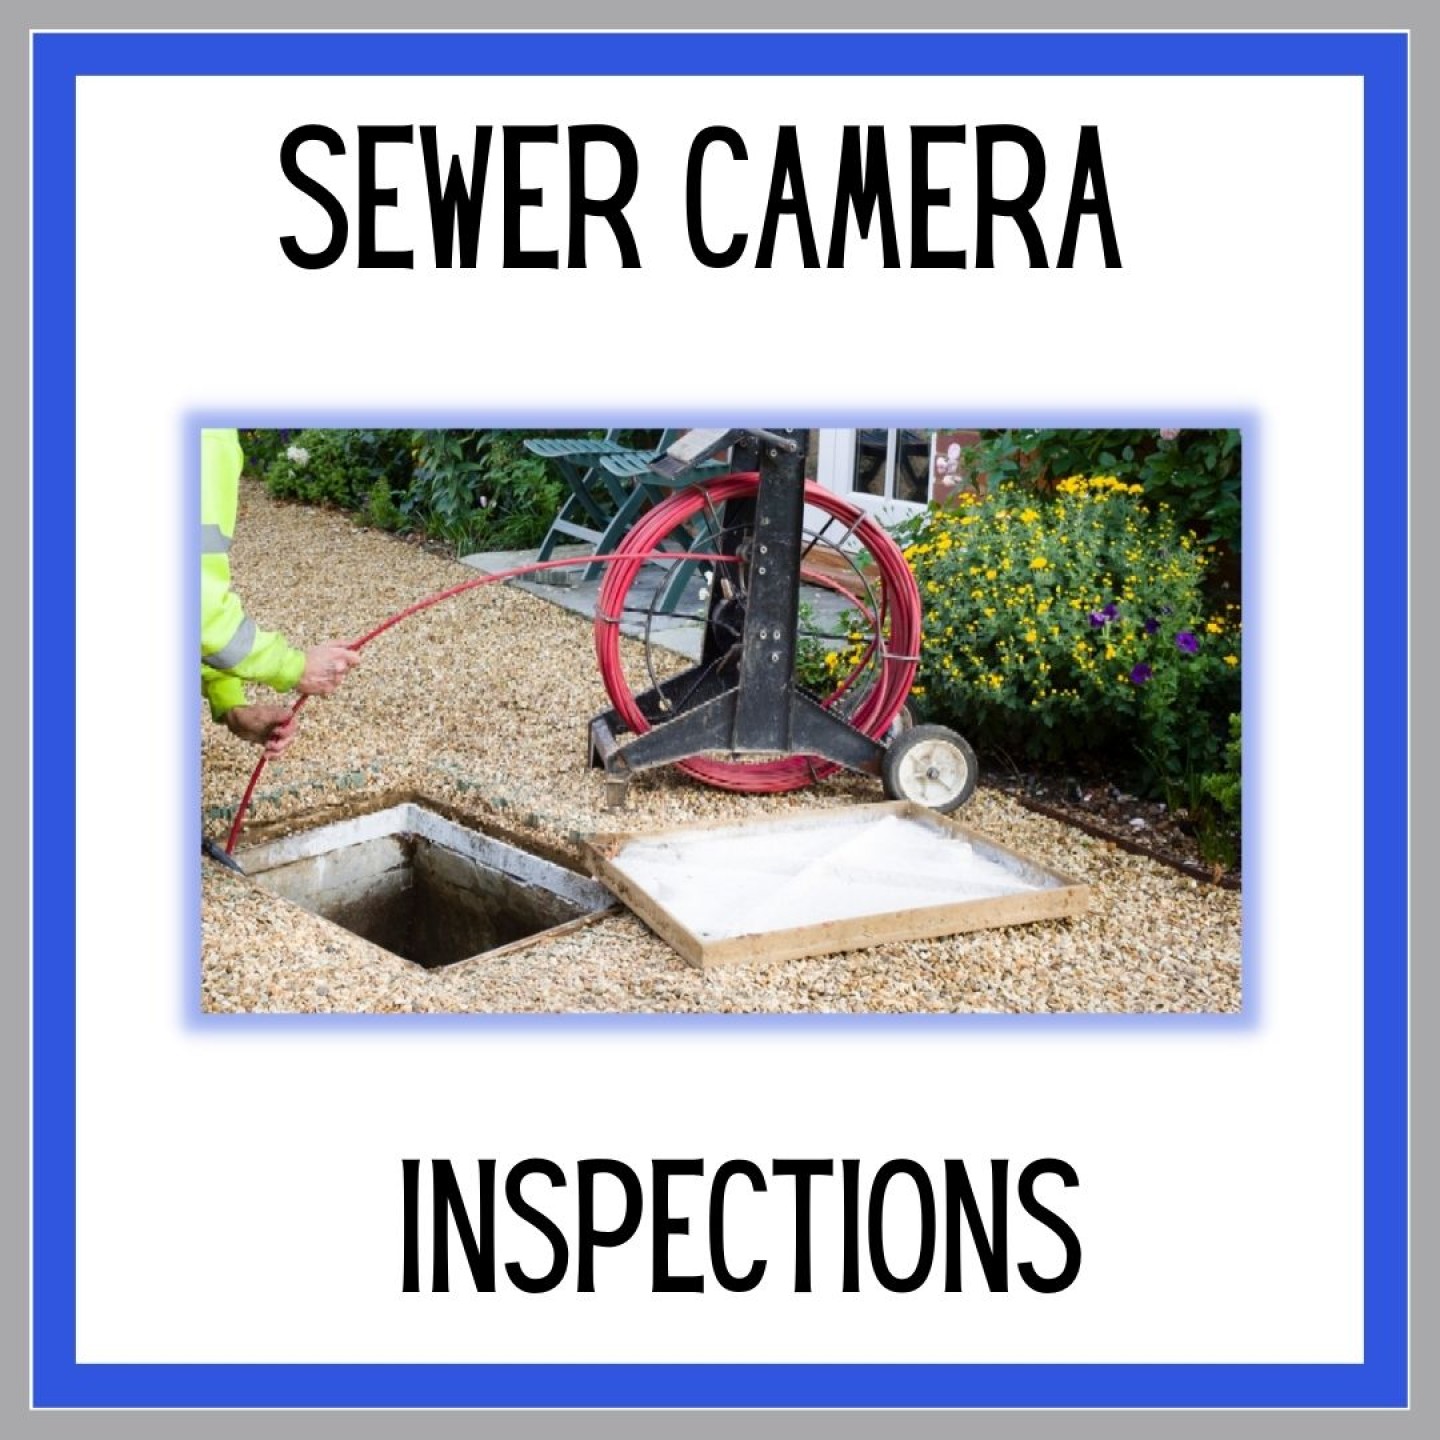
Sewer Camera Inspection

Signs you may need a sewer camera inspection:

  • Persistent sewer backups in your home or business
  • Gurgling noises coming from your drains
  • Unusual odors around your property
  • You are considering a home purchase and want to be thorough in your assessment of the property.
sewer line inspection

How do sewer lines get damaged?

The most common ways that sewer lines get damaged are from tree roots growing into the line, corrosion leading to cracked or broken pipes, and settlement of the ground around the pipes.

What is a sewer camera inspection?

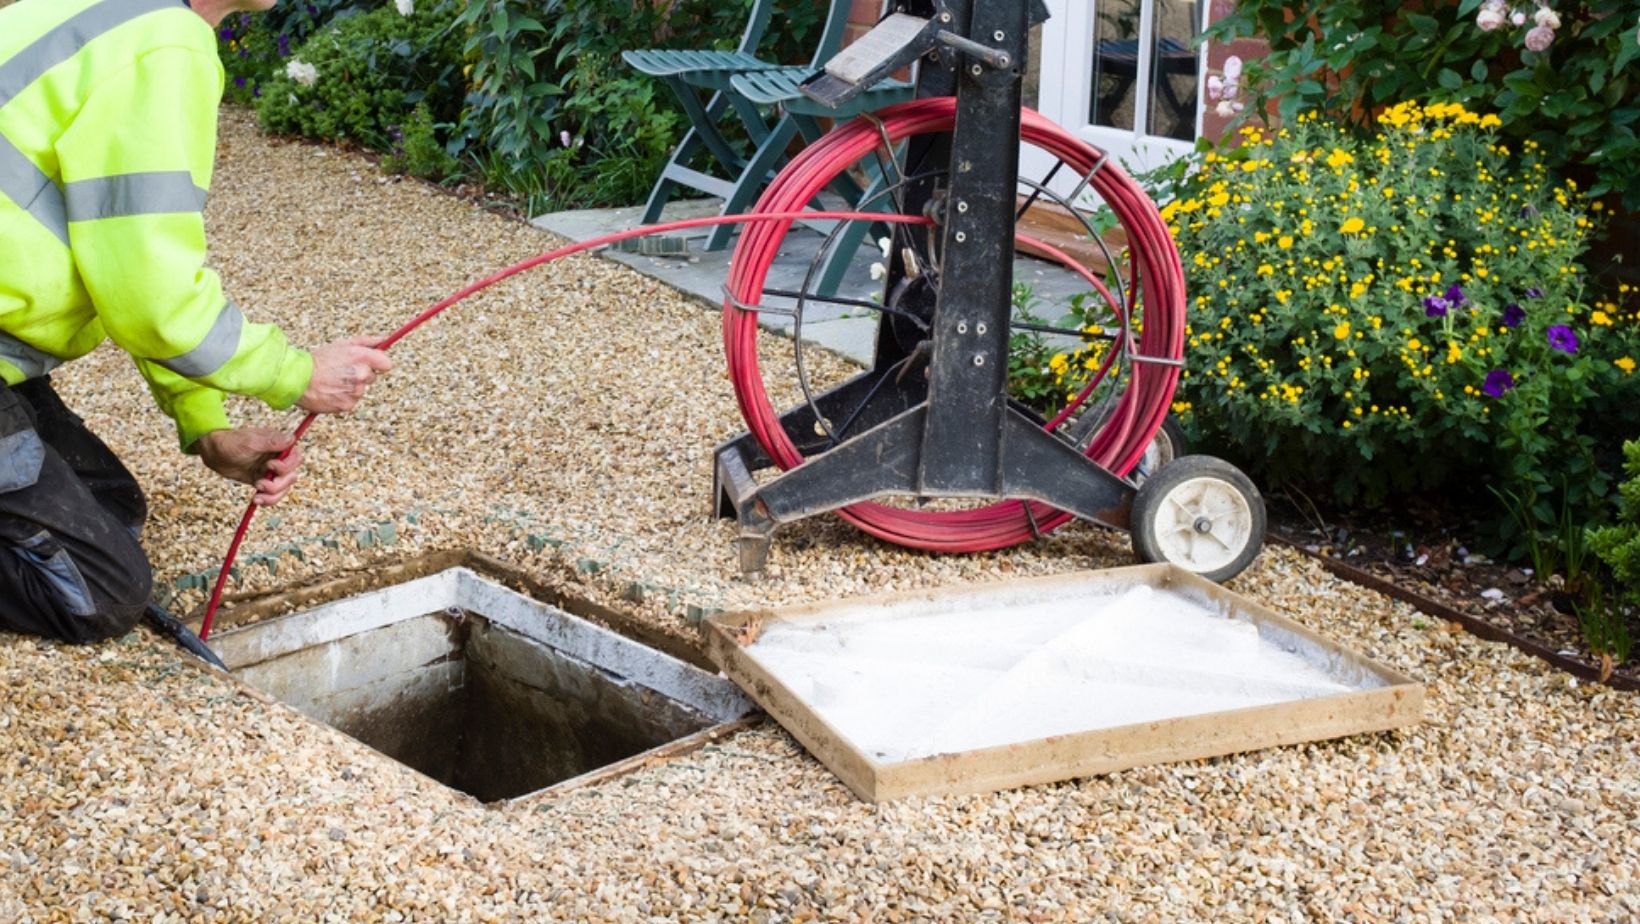
A sewer camera inspection is a process by which a camera is inserted into the sewer line to visually inspect the condition of the line. This type of inspection may be required when there are concerns about the condition of the sewer line, such as when there are backups or leaks.

Who provides a sewer line inspection?

A master plumber should perform your sewer line inspection, however, not all master plumbers have the proper equipment to do so as the proper equipment can be costly. If you are looking for a sewer line inspection in Northern New Jersey, you have come to the right place!
Call Jersey Plumbing Service today: (908) 281-7101

How a sewer camera inspection works:

1. The sewer line is cleared of any debris or obstructions.

2. A camera is inserted into the line and sent down the length of the pipe.

3. The images captured by the camera are displayed on a monitor, so that the condition of the pipe can be assessed.

If necessary, repairs can be made to the sewer line based on the findings of the inspection.

If you are experiencing any of the problems listed above, it may be time to consider a sewer camera inspection. The team at Jersey Plumbing Service can help you determine if this is the best course of action for your property and can provide quality service when it comes to sewer camera inspections. Give us a call today!

main water supply

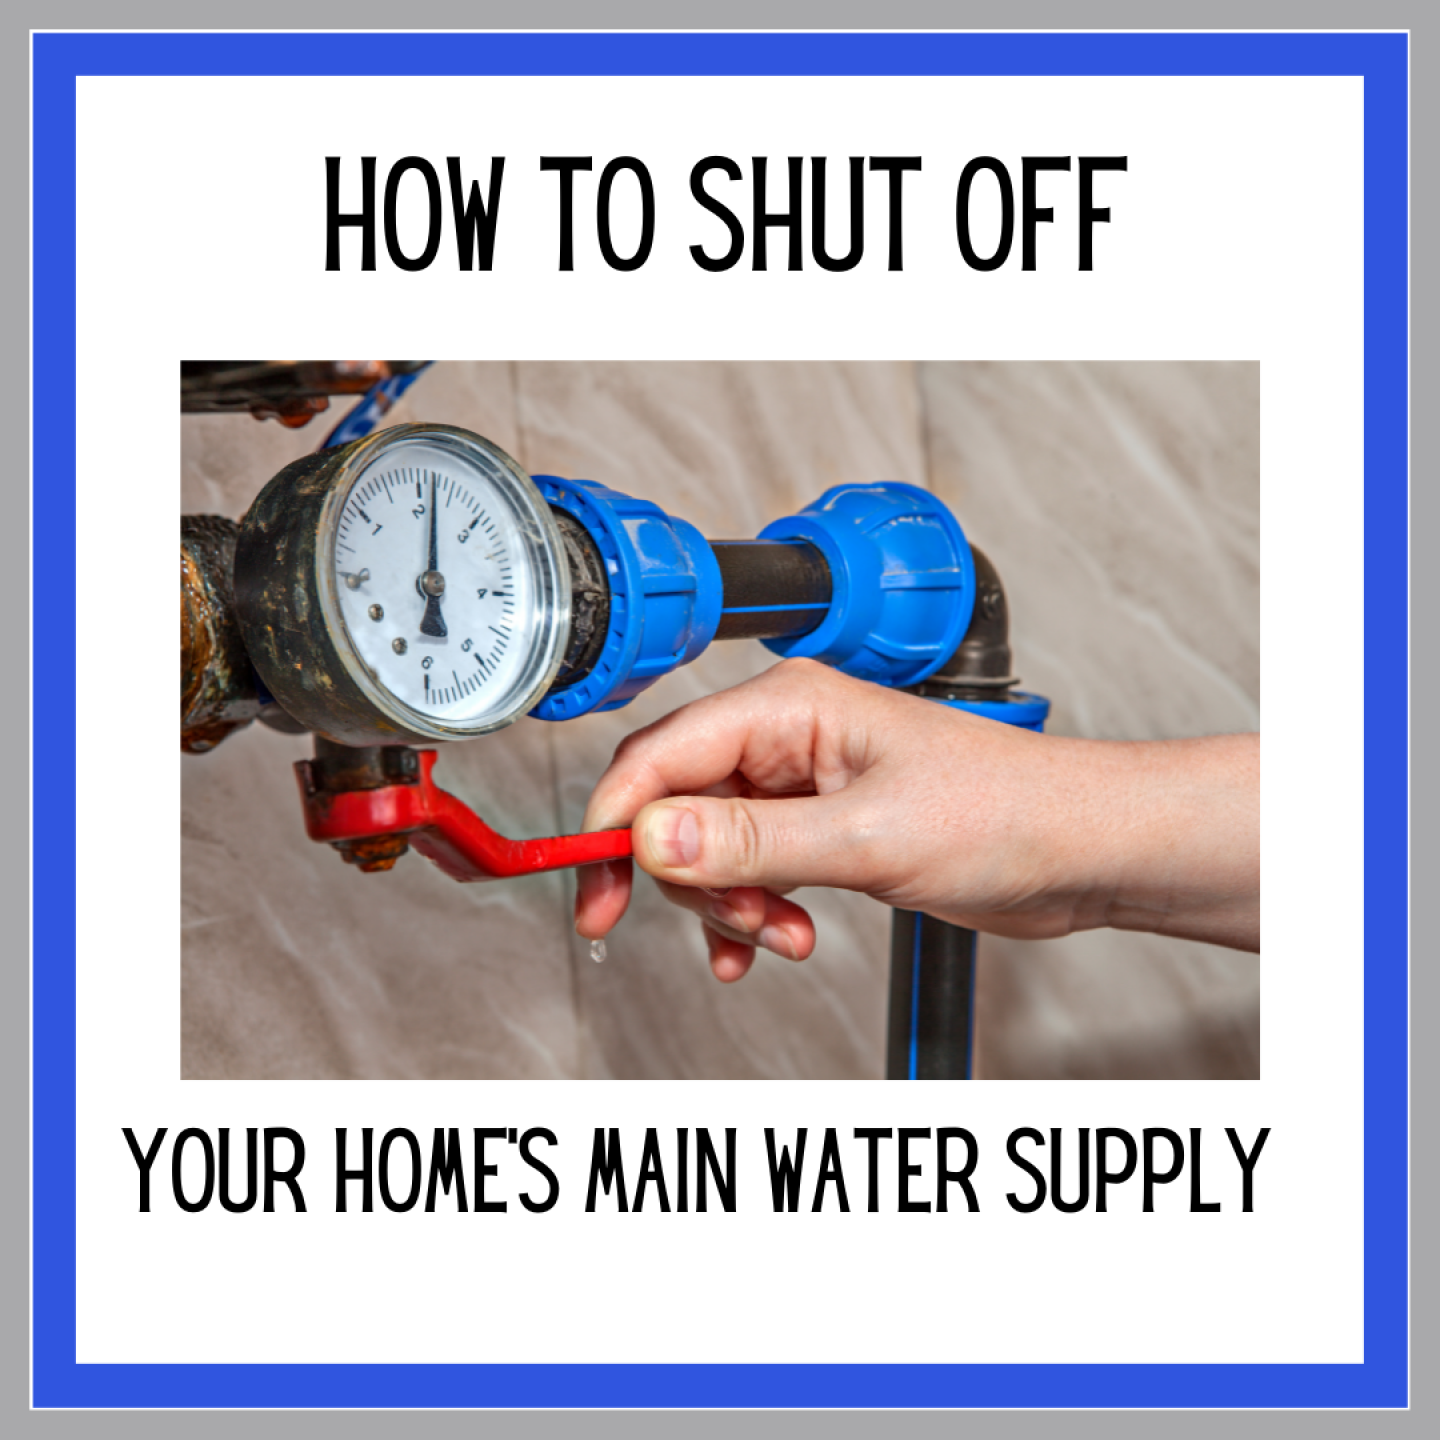
How to Turn Off the Main Water Supply to Your House

water-main-turn-off

First, locate your property's water meter. Follow the path leading away from the meter towards your house. The pipe will either lead inside, possibly underground to through your foundation or lead to a large metal or plastic box attached to the pipe near ground level with small handles or spigots protruding from it.

How to Shut off Your Water Main

When to shut off the water to your house:

If you suspect a water leak anywhere in your home, turn off the main water supply. If you do not know where the leak is, turn off the main supply to prevent further water damage requiring large clean-up costs and possibly more extensive repairs. Water damage from a water leak can be even more costly than the leak itself. Water can damage your foundation, drywall, and carpeting. It can also lead to mold growth which can cause respiratory problems for family members especially small children and older people.

If you are doing major plumbing repairs, such as repiping a section of your home or placing an addition that requires additional piping, shutting the main water valve can prevent any chance of flooding. For many minor repairs, however, there are local shut-off valves, such as at your toilet or under your sink.

To shut off the water to your house, you will either turn the wheel or rotate the lever on your shut-off valve. Follow this up by opening your faucets and shower to drain the pipes of any remaining water.

plunge

How to Use a Plunger

For a simple tool, for those who have never used a plunger before, it can be a little nerve-wracking. Typically, the situation is messy and no one wants to make it messier. To confidently handle a plunger, just follow this simple tutorial.

A simple rubber plunger is the most common. To use a rubber plunger you simply position the hole in the plunger as evenly over the hole in your drain (toilet or otherwise). Once in position, press firmly to push the air out of the plunger. Don't let the plunger lift up from its position around the drain while you press down. This will give you a vacuum seal.

When you release the pressure, the suction should hopefully pull up from the drain that did not want to go down. If you have an excessive amount of tissue paper in a toilet, for instance, due to an over-eager child using more wipes than should ever go down the pipe at once, you can use the plunger to pull the wad of wet paper away from the drain as it flushes. Then, with a plastic bag and rubber gloves, you can move that paper to a trash bag. It may be gross, but no worse than flooding your toilet if you insist on trying to force more down a hole then will fit.

Learn This Essential Skill Now!

Regardless of whether your clog needs to be pulled away or go down the drain, you may need to plunge a few times before the clog becomes dislodged. If no amount of plunging is doing the trick, you will want to pick up a plumbing auger from the hardware store.

There are a ton of videos on YouTube that can show you exactly how to operate a plumbing snake (auger), though there are many varieties out there, so you may have to fish around for one that matches the type you purchase.

If your toilet clogs frequently, you should have a plumber out to assess the situation. It may be as simple as too little water going down from your tank. Or it could be as serious as a backed-up septic or collapsed drain pipe. But the sooner you identify the problem, the more money you are likely to save in repairs.

Do not be tempted to use a drain cleaning fluid. Such chemicals can cause damage to your pipes.

rising cost of plumbing supplies

The Rising Cost of Plumbing Supplies

As we continue to move forward and through this worldwide pandemic, the impact on the supply chain is being felt everywhere. Including here at home with the rising costs of plumbing supplies.

Orders placed for supply are not only more expensive than they've been in the past, but they can be slow to arrive, stalling jobs that are mid-progress. In some situations, a needed part can be completely out of stock, forcing contractors to travel from dealer to dealer in hopes they can continue their project.

According to the Independent Pipe and Supply Corporation, hot-rolled coil prices have increased by about 80% in the last eight months, copper has climbed by 75%, and steel pipe costs have soared by 138 percent.

It is no secret that the price of copper has been on the rise for some time now. Copper is a critical component in many plumbing supplies, so when its cost goes up, it causes the overall cost of these supplies to go up as well.

The cost of copper is currently $4.320 per pound. Though, in 2006 it was $1.45/lb and in 1998 it was $0.76/lb!

Unfortunately, there doesn't appear to be an end in sight for this trend and the pandemic did nothing to slow the progression.

This is certainly not good news for those of us needing to purchase plumbing supplies in the near future. Thankfully, there are some ways to help offset these costs.

One way to keep your costs down is to shop around for the best prices. Compare what different stores are charging for the same items. You may be able to find a better deal online or at a store that is not as popular.

Another option is to consider purchasing used or recycled supplies. While they may not be as nice as new.

One option is to look for suppliers that are offering discounts on bulk orders. You may also be able to find deals on copper and other plumbing supplies through online marketplaces.

Whatever you do, don't wait until the last minute to purchase what you need. The prices are only going to go up from here!

bidet

The New Dawn of the Bidet in the USA

bidet

All over the world, bidets are commonplace and expected. The USA has long lagged behind this trend, however, due to toilet paper shortages in the early days of the pandemic, more and more Americans are realizing they've been missing out on the benefits of having a bidet for their personal bathroom hygiene.

Where in the World do People Use Bidets?

All over the world people use bidets as a standard practice. In Asia, for example, it is normal to find them in public restrooms and even some stadiums. It is common to find bidets in South America and Europe, too. Bidet use has been increasing in the USA as well with many new homes having bidets already installed.

More and more Americans have been using bidets and realizing that they actually love them. Indeed, the new dawn of the bidet in the USA has arrived. If you're considering getting a bidet just consider this:

Benefits of a Bidet:

  • Hygienic
  • Prevents hemorrhoids and UTIs
  • Easier care for those with hemorrhoids or other bowel conditions
  • Good for women post childbirth to prevent future infections and tears that can lead to pain and discomfort, as well as urinary incontinence

Why Are Bidets More Hygienic?

Bidets clean more thoroughly than toilet paper, helping to wash away fecal matter and bacteria that can lead to illness. There is also less irritation to sensitive areas that may become sore and more susceptible to infection.

How to Use a Bidet:

  1. Adjust the temperature to your comfort level (if available)
  2. Position over the bidet so that water doesn't spray outside the target areas
  3. Aim for additional areas, including behind and in front of the genitals, as well as the rectal area, being sure not to touch any sensitive areas with the sprayer nozzle itself.
  4. For full hygiene, repeat twice more on each side of the body, front and back where appropriate.
  5. Dry.

Types of Bidets:

A classic bidet is a stand-alone bidet that usually comes with assorted taps and nozzles that splash or spray water.

A wall hung bidet attaches to the wall above the toilet.

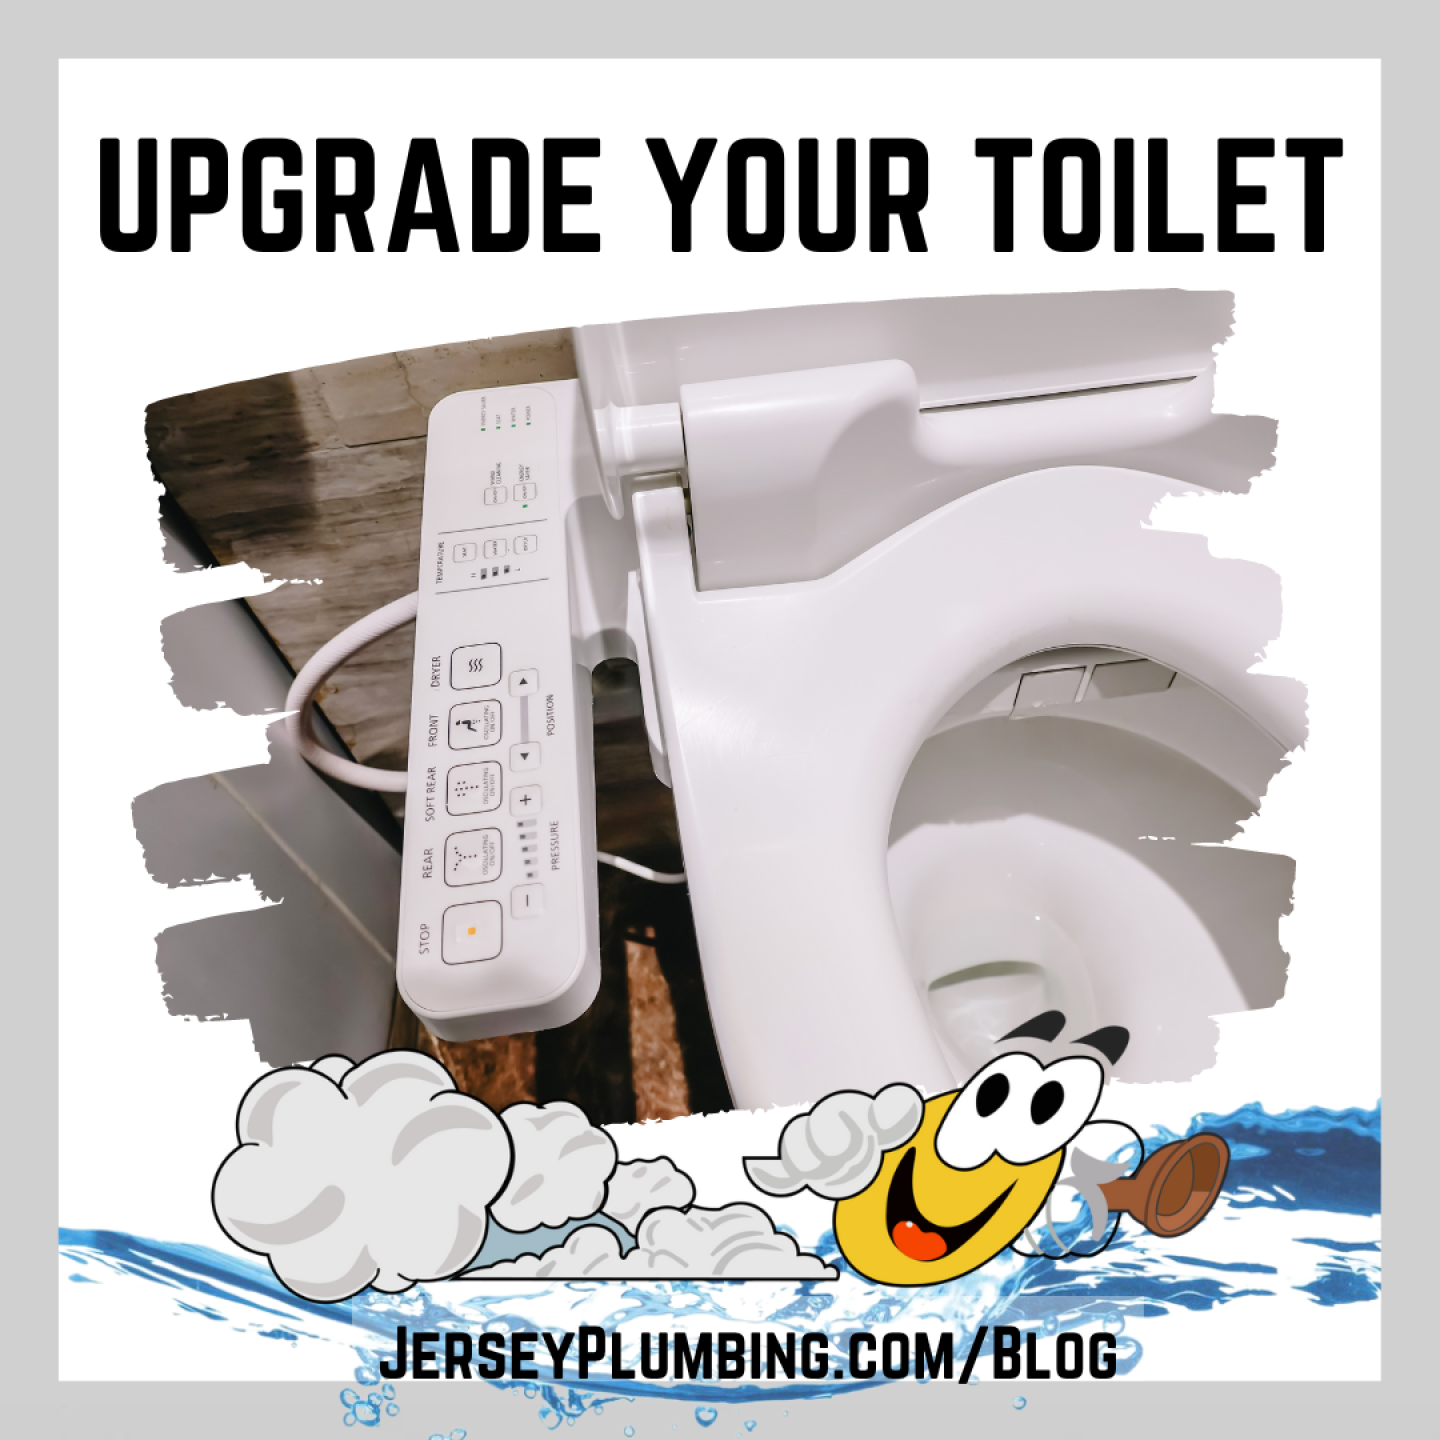
Integrated bidet toilet seats fit on top of your existing toilet with a control panel outside the bathroom. Some have their own water tank and only require cold water while others have hot and cold for more consistent temperature control. Some are fairly high-tech while others are low-tech.

No matter what type of model you prefer (and price point), there is a new energy of information and interest surrounding new bidets. Bidets are the new "it" thing for those who wish to be as germ-free as possible by reducing their contact with fecal material during their daily routines.

If you're ready to take the plunge - or in this case, splash - call the team at Jersey Plumbing Service to schedule a new bidet installation.

winterizing

Winterizing Your Summer Home or Rental

Did you know that about 250,000 homes are damaged by frozen and burst pipes each year? Many of these estimated 4 to 5 Million dollars in damages will be experienced here in New Jersey where it's not uncommon to have summer home at the shore, or up in the woods of PA or NY - all areas that enjoy both a hot summer, and frigid cold winters.

While our team can help you winterize locally, many of our clients have faced these preventable problems with other out-of-area properties. Which is why we'd like to arm you with the facts you need to properly winterize your home.

Winterizing Your Home:

1. Turn off the water supply to the house. The main water valve is usually near the water meter on the home’s exterior, or in the basement.

2. Drain water pipes. Do this by: Starting by turning on the faucets from top to bottom in sinks and showers and tubs, until no water runs.

3. Pour RV antifreeze into the drains and toilets to prevent any remaining standing water from freezing.

4. After pouring antifreeze into the drains, cap them. Cover the toilet with plastic wrap. This will stop the possibility of sewer gas from entering the house through the drains.

5. Shut off power and water to your water heater and drain it.

6. Drain the pool, if you have one. This is a several step procedure, involving a submersible sump pump. You may want to consider hiring a pool specialist.

7. If feasible, turn down the thermostat to 55 degrees, generally considered to be warm enough to prevent the pipes from freezing.

8. If not running your heater, first consult your user heating unit's manual. Some units require specific methods for draining water and may require antifreeze. Others do not. An HVAC specialist or Master Plumber may be needed to do this properly or even to guide you the first time you winterize the property.

9. Clean your gutters. Many post-winter leaks aren't from your pipes at all. Ice dams can cause significant damage and you want to ensure good flow in your gutters. Be wary of gutter guards as they have been known to exacerbate ice dams. Trim back any branches that may be dropping debris into your gutters as well.

10. Unplug all appliances.

11. Winterize your outdoor spigot (This applies to your year round home as well!) Disconnect your hoses and drain them. If you have an interior shut off valve to your spigot, shut the water off. Otherwise, insulate your spigot. Consider a faucet cover, which is a padded dome that can be placed over your spigot through the winter.

Remember, it is best to do this right. Water damage can be financially devastating to a property, and more so for properties that are unattended. Do not be shy about asking for professional assistance if you are worried you don't know the proper way to winterize your pipes.

Copy of 6 Common Boiler Questions

The Lifespan of a Boiler: How Long Should a Boiler Last?

The generally accepted lifespan of a boiler is 10 to 15 years. If your boiler is still functioning at 16+ years, it may still be a good time to upgrade, as today's systems are far more efficient than their predecessors.

Factors that affect the lifespan of your boiler:

220. Burham Boiler with Bradford White Water Heater

Do you have the right system?

If your boiler is the wrong size for your home, it may not reach its projected lifespan. If the system is too big, it won't take long to heat your home, and will go through more on/off cycles which can wear out the motors and other boiler components. Short cycling is a sign that you have a system that is too large for your home or building. A system that is too small can become taxed, operating at full capacity in a vain attempt to keep the temperature up and eventually wearing out the system components. You may notice you are still cold despite the boiler constantly running if your system is too small for your home or building.

toolbox

Do you service your boiler every year?
Like we covered in last month's blog post, you should definitely have your boiler serviced every year. In fact, not doing so may void your warranty. Why? Because it's much more likely to fail during the span of your warranty instead of after as a result. With Annual Boiler Maintenance from Jersey Plumbing, we Rigorously Inspect and Maintain Your Equipment for Optimal Performance. Our team will:

- Clean and inspect the heat exchanger
- Inspect all wiring and connections
- Test water pH levels
- Inspect condensate system and clean/flush as needed
- Inspect and clean flame sensor
- Inspect and clean ignitor
- Inspect and clean burner assembly
- Full inspection of the venting system for deterioration, corrosion, blockages or failed joints and connections
- Examination of air inlet and vent terminations
- Inspect and test safety controls 

What kind of boiler do you have?
A cast iron water or steam boiler may last much longer than a condensing boiler. 

What kind of fuel to you use?
A gas boiler has a longer lifespan. Electric Boilers tend to last 8-10 years rather than 10-15 years.

Jersey Plumbing Service
PO Box 7371
Hillsborough, NJ 08844
Click to Email Us
Fax: 1-908-647-1517

NJ Masters Plumbers License #7359

Copyright © 2018 All Rights Reserved
Site Designed & Managed by Lattice Marketing